We jewellers are a crafty lot. We produce some pretty amazing jewellery pieces and forming helps us give that wow factor to our jewellery!
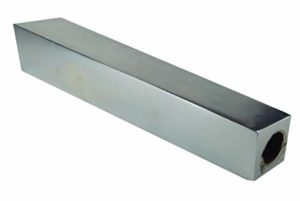
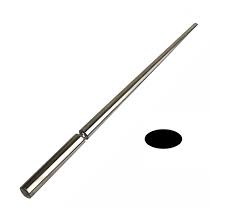
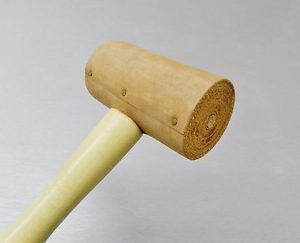
Mandrels are necessary in every jeweller’s toolbox. There are mandrels for bezels, rings, bracelets and hoop earrings. All of these are used for forming metal evenly into the desired shape. When I first started working with metal, I thought mandrels only came in round. Was I ever wrong! You can get them in all kinds of shapes. Classic round is used the most often for rings and bangle bracelets, but there are also square and hexagonal mandrels as well. Oval bracelet mandrels are used for forming cuffs. Bezel mandrels are handy for making, you guessed it, bezels for round, square and oval stones. Hoop earring mandrels are great for making consistent hoops in a variety of sizes. Rawhide mallets are used to hammer the metal on the mandrel so as not to scratch the metal. Metal hammers are used for texturing, usually before the ring is formed on the mandrel, but sometimes afterwards as well.

There are two things to remember when forming on mandrels. First, make sure your piece is annealed before you start hammering your piece, because it will work harden as it forms and the harder it is, the more effort is required to form it. Second, you need to have a good solder join before you put your piece on the mandrel to shape it. I cannot emphasize this enough! It is extremely frustrating to start hammering and have your ring or bangle pop open!
LEARN HOW TO PROPERLY SIZE A RING ON A ROUND RING MANDREL HERE
Another wonderful tool is the dapping block. This tool allows you to make your pieces come alive by giving flat metal depth and dimension. Dapping blocks and punches are available in metal or wood. Metal dapping blocks can flatten texture and stretch your metal – so use with care. Metal dapping punches are also used for stretching ring shanks into an anti-clastic shape (aka Spinner Rings!). I love wooden dapping blocks and punches, because forming with them gives your pieces new life without removing texture or stretching the metal. Either of these tools can also be used to make bead caps or beads. Texture first, if you want, cut out your discs, drill a hole in the centre and dome! Use a single one for a bead cap or solder two of these together for a unique bead.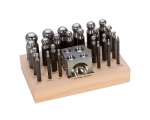

A unique and fairly new forming tool is the bangle press. This tool is for making spinner bangles! The press consists of two specially shaped forming “heads” on a bolt. The bangle is held between the two discs while you use a wrench to tighten the bolt which creates the anti-clastic shape of the bangle. We have found that using one “head” of this tool like a dapping punch with the bangle on a steel bench block, works much better than using this tool as a press. This is the same idea as making an anti-clastic shape for a Spinner Ring using a dapping punch.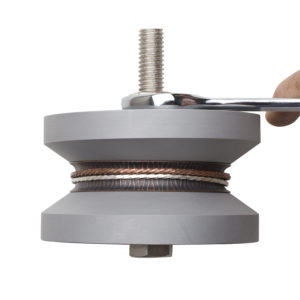
We don’t usually think of pliers as forming tools, but they are used constantly to form and shape metal. There are a large variety of pliers with different heads and for different jobs.
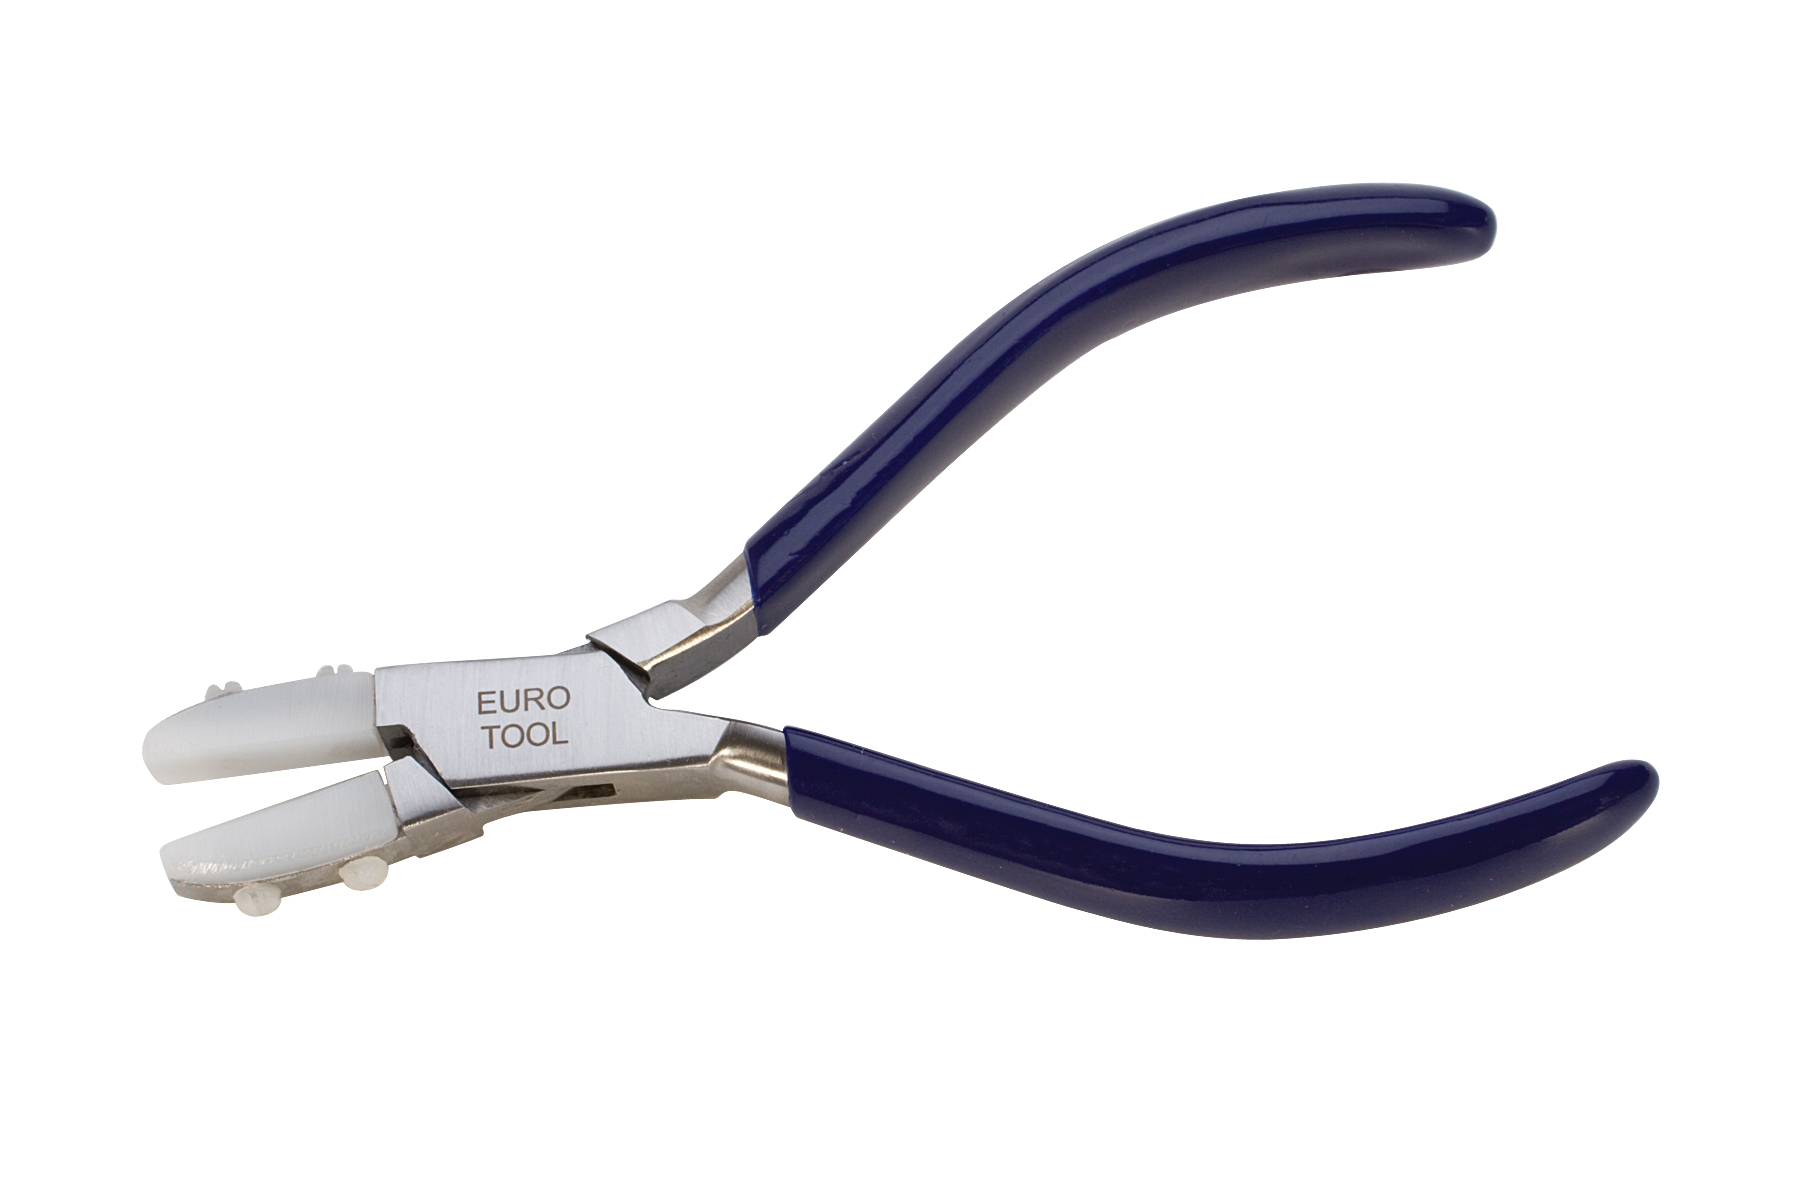
Ring bending pliers are a prime example. They allow us to make a smooth bend when making ring shanks. Round nose pliers and multi-loop pliers are both used for making loops. I especially love my multi-loop pliers for making consistently sized ear wires and clasps. Nylon jaw pliers are great for bending metal without scratching it. If you are using metal pliers, you can wrap them with masking tape or dip them in Tool Magic to prevent scratches in your metal. This product is available at Michael’s in Canada. You will need to re-dip periodically as the edges of your pliers wear through, but make sure to peel off all the old stuff before re-dipping.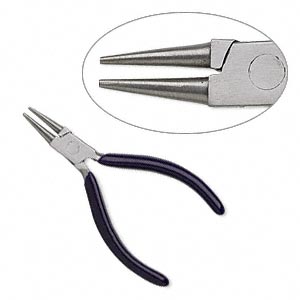
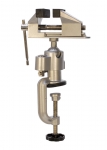
Don’t forget holders and vises to hold onto your pieces when you are shaping them with your pliers. The universal holder will hold onto almost anything! With this versatile hand tool, you can clamp or use the metal pins to keep a piece in one position while you file. If you want two hands free while you’re working on your piece, use a tabletop vise. This tool swivels, so you don’t need to move your piece to re-position it – just swivel around to get to the other side!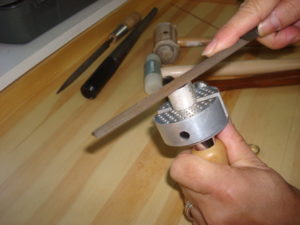
Remember that as with any other tools in the workshop, use safe practices. Don’t use a tool for a purpose for which it was not intended and make sure to wear your safety goggles. Safety in the studio is a beautiful thing!