blue silicone bullet
When I first ventured into silversmithing, there were a lot of things I knew nothing about. One of these was polishing. Like many other people, most of my experience with polishing silver had been either polishing my mother’s flatware with stinky pink liquid or polishing silver jewellery with a cloth. When I started working with silver, I was faced with (what seemed to me) a dizzying array of polishing options. So, in order to make sense of it all, I decided to do some research into the subject and, realizing that I was probably not the only one who felt this way, I thought I would share some of what I’ve learned in the hopes that this will demystify polishing for some of you as well.

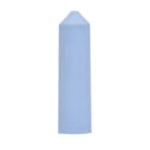
pink knife edge silicone disc
At the Workingsilver studio, we use a lot of different tools to get the polish we want on a piece. Some of the first ones I was introduced to were the silicone discs and bullets. These are made of silicone impregnated with silicon carbide abrasives and come in grades from coarse to extra-fine. These are great for many different uses. The coarser grades are good for removing scratches and deburring, while the finer grades will put a lovely shine on your jewellery. The knife edge discs are a must for edges and the bullets are the best thing for the inside of rings. When I am using these, I like to wear a dust mask because they wear down and can produce a lot of dust. They are an essential part of any jewellery maker’s toolkit.

3M radial polishing discs
Another style of disc that we use in the studio are the 3M radial discs that also come in grades from coarse to extra-fine. These contain a 3M proprietary ceramic aluminum oxide blend that does a great job on everything from removing firescale to fine polishing. Their design, ( they look a bit like flowers ) allows them to get into tiny places that you may not be able to with other polishers.They are also perfect for flat surfaces. They work best when used three at a time, making sure that all of the bristles are going in the correct direction so that they don’t become splayed. You can also use a lighter touch with these as well which is essential for those delicate details.
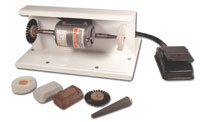
Tabletop polisher with attachments
The big polishing wheel in the back of the studio uses stitched muslin wheels with polishing compounds such as Gray Star, Zip, or Eurolustre to create a lovely finish. I have a sterling silver puffed heart pendant that I bought from a thrift store many years ago. It was in perfect shape, but the finish was scratched and dull. I used the polishing wheel on it and it came out with a mirror finish! These are great polishers, but make sure you hold onto your jewellery because the force of the polisher can make it go flying pretty easily! You can get a smaller polisher for your home studio that comes with several different attachments and two kinds of polishing compounds. Which leads me to, ( you guessed it)…..
0ne type of polishing compound
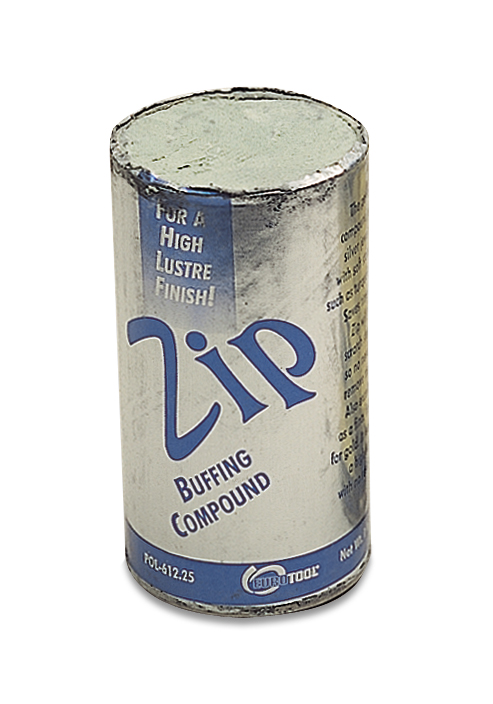
Polishing compounds! Like the silicone and 3M discs, these come in several different grades or grits, depending on what you need. The one that you probably hear most about is rouge. When I was a kid, my mother put something called rouge on her cheeks (we call it blusher now). This is not the same thing! The rouge used in the jewellery studio is actually fine ferric oxide powder in a base of grease or wax. It is also used in jewellery polishing cloths. It was developed specifically for use on jewellery to give a shiny, lustrous finish. Because it is so fine, it will not scratch or cut even the softest of metals. There are many other polishing compounds, such as Zip and Eurolustre that can be used with polishing wheels as well. I think that everybody has their favourites, so don’t be afraid to try different compounds to find the one that you like the best.
Tumbler for work hardening and polishing
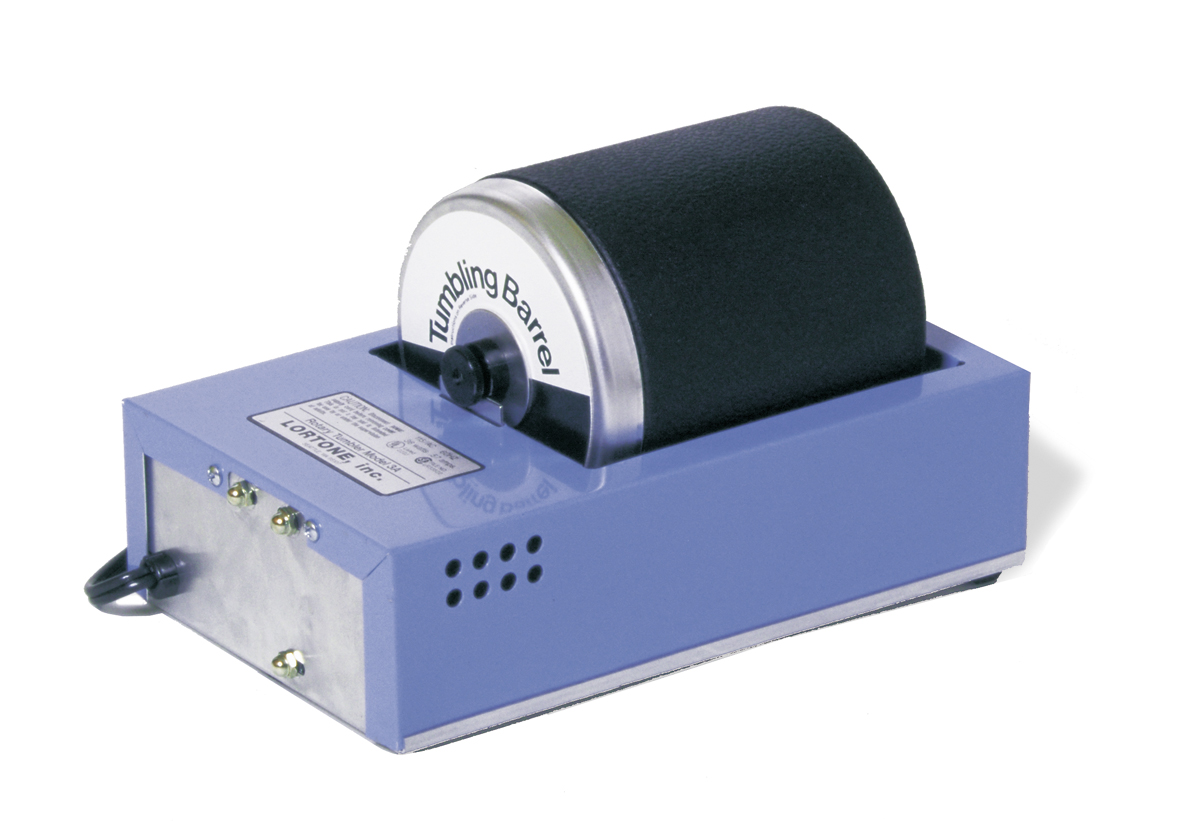
And then we come to tumblers. Tumblers have a drum filled with steel shot and soapy water that gently spins. The steel shot on the metal jewellery produces a lovely shine (called burnishing) and work hardens your pieces at the same time. Shaving soap into the water (we use Ivory Bar Soap) is the burnishing compound. Please note: do this before you set any stones! This will not remove scratches, but rather is the finishing touch. I like to put my ear wires and clasps in the tumbler because they come out looking beautiful and they’re too small to polish with a wheel.
It’s amazing what a Brass Brush with soap and water can do to polish your textured pieces – to prep for the tumbler or just on its own. This is another form of burnishing (metal on metal polishing), but inexpensive, quick, and easy. 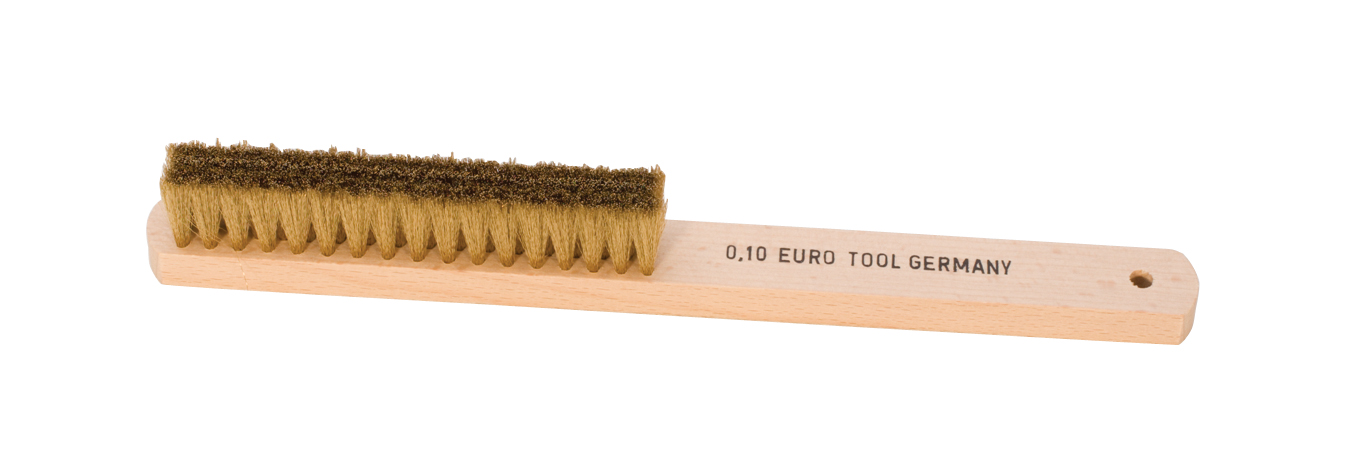
There you have it!
Just remember, there’s no reason to be dull when it’s so easy to shine!