The Micro Mini Butane Torch is a must have on your soldering bench for small jobs.
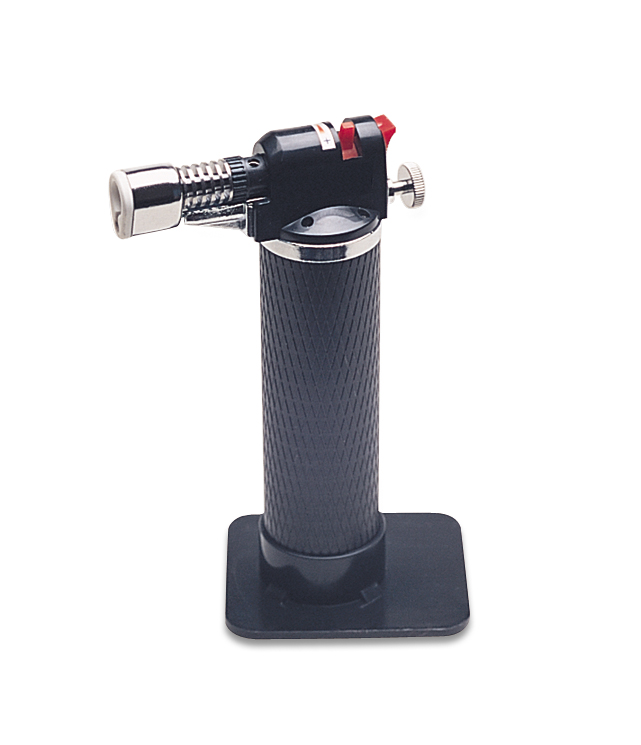 The Micro Mini Butane Torch is Great For:
•soldering jump rings closed (14g and thinner)
•soldering thin (4mm and smaller) ring bands
•soldering bezels closed
•drawing a bead on a wire to make head pins
•making a heat patina on a metal surface
•soldering a small element or charm on a metal pendant (1″ and smaller)
•torch-firing some types of metal clay
Filling a Butane Torch:
A butane torch isn’t much good unless it is filled with fuel. Use regular, good quality butane fuel purchased from any hardware store. You may have heard that it is best to use “triple-refined” fuel to keep your torch head clean, but honestly most of the time I use regular fuel right off the shelf, and my torches work great. This is not an endorsement, just my experience.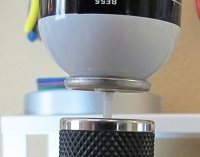
With practice, you will get use to filling your butane torch.
1.Grab your torch and butane canister and go outside (You want to have adequate ventilation when you are filling the torch).
2.If your torch has a stand at the bottom that can be removed, go ahead and take it off and put it aside.
3.Remove the cap from the butane.
4.Turn the torch upside down. You’ll see a filling point on the bottom of the torch. Insert the tip of the butane canister and press down firmly.
The butane will flow from the canister into the torch. If you hear fuel escaping out the torch head during filling, stop and tighten the knob that regulates the butane flow. Fill the torch until the butane makes a slight spitting noise at the filling point (about a 10 count). Then replace the stand on the torch, stand it upright, and let the butane settle for about 30 seconds or so. Store my butane canister away from your soldering area.
Turning on the Torch:
Consult the directions that came with your particular torch for directions on how to turn on your exact torch, but there are some basic concepts that apply to all micro butane torches:
Ensure that your soldering area has a fireproof surface and put on a pair of safety glasses before turning on your torch. Point the head of the torch about 8 to 10 inches above that surface at a 45-degree angle and turn on the torch by starting the butane flow and clicking the ignition button. Adjust the flame to its highest point then to its lowest (usually a lever or knob) to get the feel of the size of the flame.
 Understanding the Flame:
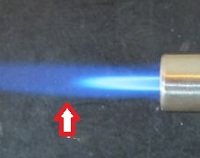
Now examine the flame itself. (Sometimes it’s best to view it under dimmed light.) You’ll see an inner and outer flame. The outer flame is a dark transparent blue. The inner flame is lighter and more opaque in color and comes to a sharp tip inside the outer flame. Just in front of that lighter flame is the “sweet spot” or the hottest part of the flame and the point to quickly heat metal and flow solder. You’ll move this tip up close or farther away from the surface of the metal to control the rate of heat on the metal.
If you move the flame too close to the surface, you will hear a sound that resembles wind or a slight hiss and see a dark spot in the middle of the heated metal. You have gone beyond the sweet spot of the flame. The inside part of the inner flame is cooler, which means it will take longer to solder your pieces.
After you are done examining the flame, turn the torch off. Place the torch upright on the fireproof surface. Remember that the tip will be hot, so point it away from you.
Congratulations! You have conquered the first steps using a butane torch. Let me also recommend, as with any complex jewellery tool, to get out the instructions that came with your torch and read them. There is a wealth of information on that piece of paper!
We sell Micro Mini Butane Torches on our site in the “Soldering” area within Tools.
Thanks for Shopping!!