8 Great Ways to Use Your Micro Torch: Tips for Fusing, Soldering, Making Wire Findings and Chain
 There are so few soldering and metalsmithing techniques that can’t be achieved with a micro torch. You can solder with a micro torch, of course, but you can also “flame paint” on copper and other metals with a micro torch, anneal metal, fire some kinds of metal clay, torch-fire enamel, make balled head pins and other findings, and fuse wire into circles to make your own chain, finger rings, or jump rings–super handy skills for any jewellery maker!
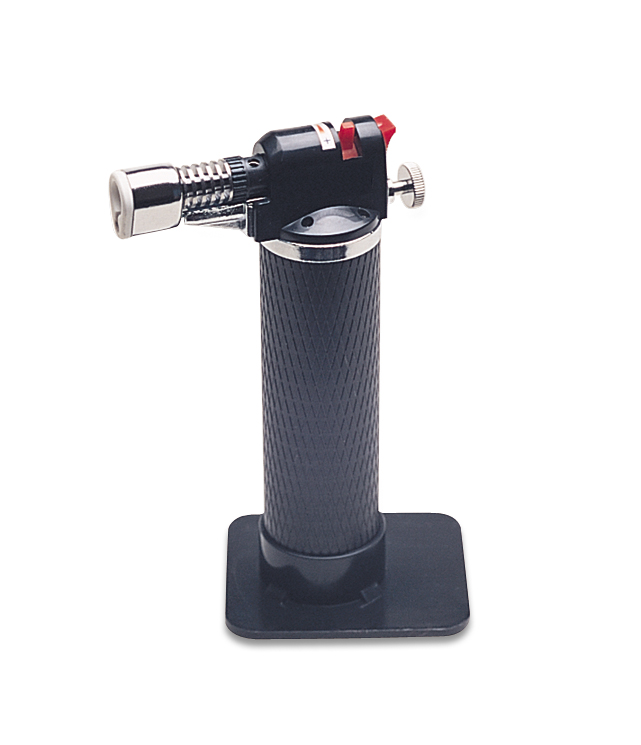
So if you want to try soldering and fusing metals (or any of those other fun jewellery techniques) but don’t have the space, budget, or interest in using a “big” jeweller’s torch, a micro torch is a really handy alternative. It’s convenient, easier to keep fuelled up, and because it’s smaller and lightweight, micro torches are less intimidating and easier to move around. Here are some micro-torch tips.
1. Scraps of silver almost instantly turn into perfectly round silver balls when heated with a micro torch. You can create silver accent balls in almost any size to embellish your wire or metalwork jewellery designs.
2. Fine silver will melt and fuse to itself without using solder. Sterling silver is an alloy that contains copper, not a pure metal, so it will not fuse to itself. Fine silver also resists oxidation, so it will tarnish less and you won’t have to polish it as much.
3. Be careful not to melt silver accent balls when fusing them onto a base. If you hold the flame directly on the ball for too long, it could simply melt into a liquid mess. Be sure to keep the flame moving so that you heat the entire piece gradually until it turns red; then focus your flame a little more directly onto the area being fused–but don’t linger there too long.
4. Did you know that you can use a micro torch (also known as a kitchen torch, mini torch, handheld torch, or a creme brulee torch) to form balls on sterling silver, Argentium sterling, fine silver, or copper wire ends to make balled head pins? You can use any wire gauge you need and make them exactly the right length for your wire jewellery designs. Zero waste! And you’ll save money, too.
5. When you’re making those balled head pins out of copper, remember this: How quickly you quench the wire after torching determines the look of the balled end. Air-cooling copper wire awhile before you quench it creates black balls, but quickly and immediately quenching a hot balled-wire end in water makes it red.
6. As a base for your micro torch work, use a magnesia soldering block, a dense charcoal block, or a Solderite block. Don’t use a regular red building brick; it will pull too much heat away from your work–which is even more important when using a micro torch.
7. Keep a cheap set of “fire tools” (or “hot tools”) or surrender your older tools to the micro-torch cause to use exclusively while torch fusing and to grip hot metal.
8. Remember that heat will soften your metal, which can be used to your advantage to anneal hard metals to make them more pliable, but you’ll also want to hammer (cooled) torched pieces with a rawhide or nylon mallet or tumble to work-harden them afterwards, especially so they’ll be strong enough for chains.
Reprinted from Jewelry Making Daily enewsletter, August 10, 2012
We sell Torches on our site in the “Soldering Tools & Supplies” area.
Thanks for shopping!