Feeling uninspired? Not much to do in the studio? Or just plain “I don’t wanna!” but still feel like doing something? No worries, I have a great project for you which will become your new favorite soldering buddy. Make your own spinning board to place your soldering blocks on, because sometimes cranking your neck around and twisting up your torch just is no fun.
Supplies
- 2 by 1 pine board
- 1 swiveling furniture wheel approx 5 cm wide or so
- 8 wood screws, 5 8×1/2 and 4 8x 1
- 2 bolts with nuts
- Wood glue
- Spray greese
Tools
- Flex shaft or dremel with cut off wheel
- Vice
- Screw driver
- Drill
- Pliers
- Chop saw or compound miter saw to cut the wood
Because as makers we are more visual people, I took a plethora of pictures and kept the worded instructions to a minimum.
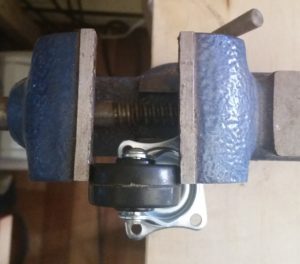
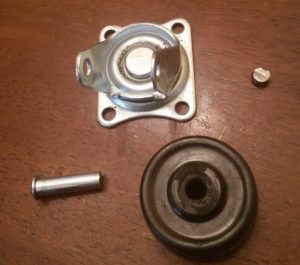
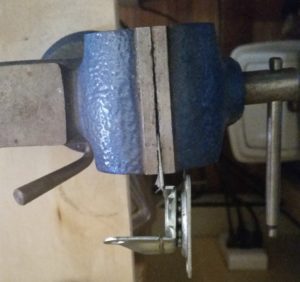
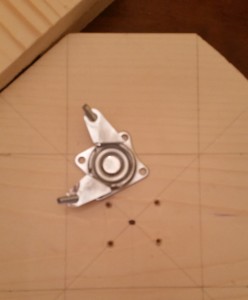
Remove the wheel and let your cat have some fun with it. Secure wheel in a vise and use dremel or flex shaft with a cutting wheel to cut through pin holding the wheel on.

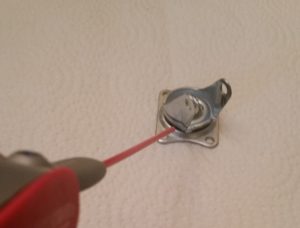
Some debris may get in the bearrings causing it to stick, use spray grease to clean it up.
Before scoring side flanges with the cutting wheel, mark with a sharpie. Score approx half way through the thickness. Remove some completely from either side.
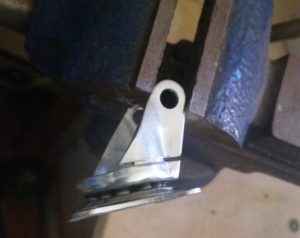
To bend the flanges out 90 degrees, hold in vice and bend.
Perfect, done with this bit!
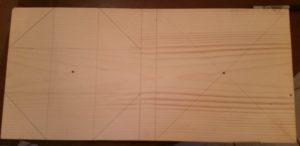
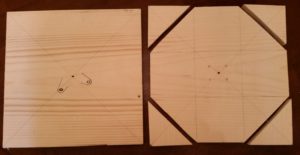
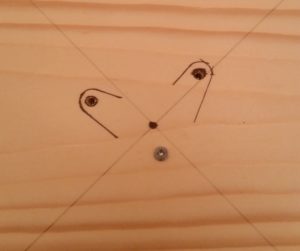
Mark the board into two equal squares. Find center of each square. One square divide into thirds to make a octagon.
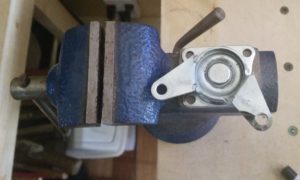
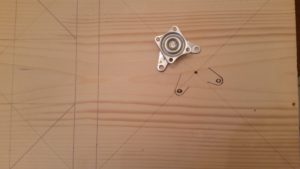
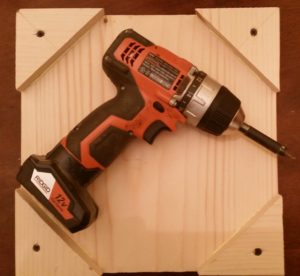
Center the square base of the swivel on the marked off octagon, and mark where wood screws will be placed. Then cut off corners to create octagon.
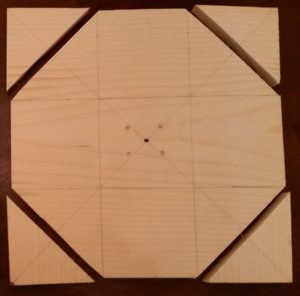
Center the swivel on the square and mark where bolts will go. These holes need to be drilled out.
The square will become the base, the triangles will be the feet for it, and the octagon will be the spinning part.
Use wood glue to secure feet in place
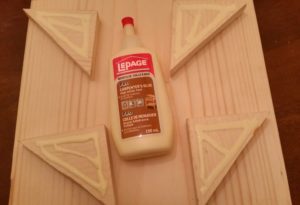
Drill in screws, base complete!
Drill out holes where bolts will go. Place a screw where back section of swivel has a gap, otherwise your octagon turn table will not be level.
Put long bolts through holes in swivel and then use 4 wood screws to attach swivel to the octagon.
Push bolts through holes previously drilled into base. Use pliers to pull them all the way through and attach bolts to tighten. Note how that screw is keeping the swivel level.

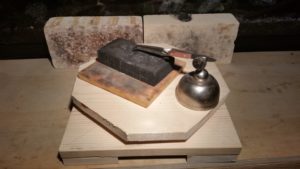
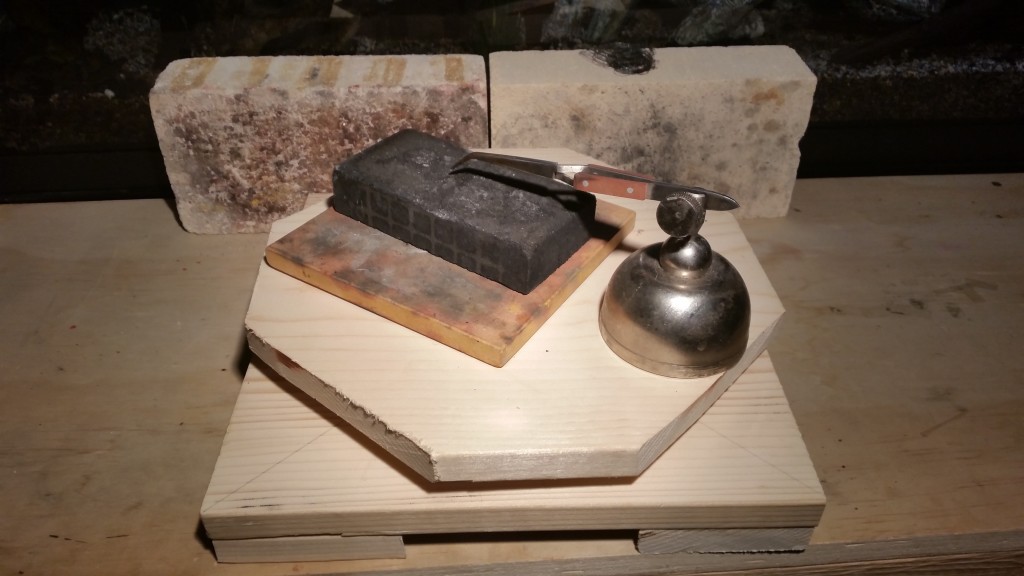
Ahhhh all done! Remember that this is wood and therefore very flammable. Place a soldering brick or ceramic board on top , plus another soldering brick to keep flames away from your completed wood masterpiece, and solely on whatever jewellery masterpiece you are soldering.
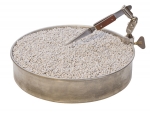
Feeling completely inspired, have way to much to do in the studio and cant wait to get to it? Making your own turn table seems like way to much work and can’t coerce anyone else to do it for you? “Ain’t nobody got time for that!” But still think a spinning soldering board is an absolutely fantastic idea? No worries, Workingsilver has brought in ready made spinning soldering dishes filled with pumice, with an attached third hand. Come by and pick one up or simply order it on line and have it delivered to your studio HERE. That doesn’t take any time away from your jewellery creating studio time.
Make one or purchase one, either way happy soldering times ahead.
Idea for this project came from the book “Practical jewelry-making techniques: problem solving” by Stephen O’Keeffee. In the book they show how to make your own swivel with ball bearings and washers. But I had a hard time finding bearings so opted for the wheel.