SPINNER RINGS
Spinner rings, fidget rings, meditation rings. The Spinner Ring continues to be popular and fun to wear! A modern take on the Tibetan Prayer Wheel, these rings are designed so that the inner ring sits comfortably on your finger and the outer rings spin loosely. These can be worn on any finger. The spinning of the rings is found by many to soothe and reduce stress. By varying the metal, patina, and texture of both the inner and outer rings, these rings have endless design possibilities. Check out our blog ‘what are spinner rings?’ and our Pinterest page spinner ring inspiration for more ideas.
What do you need to make these rings???
 MATERIALS
RING BAND
For the inner band, we recommend 18 or 20 gauge sterling silver or Argentium silver, ~10mm wide. You can vary the width of the ring band of course, 10mm is the standard size of rings made by Kathy. With One 1″x6” strip of Sterling or Argentium Sterling allow you can make up to 4 10mm wide spinner ring bands and two 5mm wide bands.
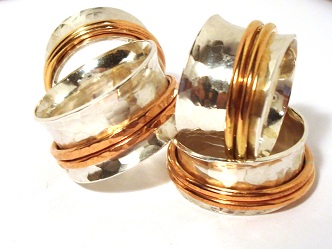
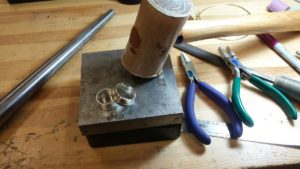
Hint: Keep in mind proportion when designing your bands. Both rings pictured below have 10mm wide bands, however, the one on the left is size 10.25 while the one on the right is size 6.5
Use the formula below to calculate the length of sheet metal needed for your ring blank. Refer to our hand Ring Sizing Cart to obtain the inner diameter measurement of your ring. ALWAYS WORK IN MILIMETERS NOT INCHES
ring band = (desired inner diameter of ring + thickness of metal ) x 3.14 = length to cut
Hint: The ring band (shank) metal stretches when shaping and flaring the ends (called anticlastic shaping), so reduce ½ a size for a correct fit
TOOLS
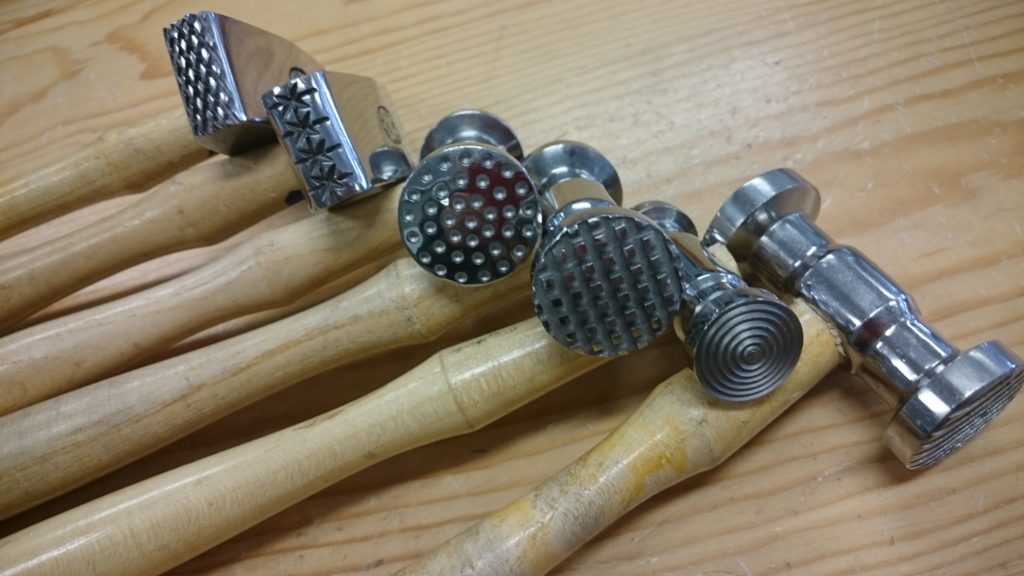
Texture Hammers and BLOG POST on Hammer Textures
Tip: If you are texturing your band, remember to remeasure and recut/file before soldering. Texturing will deform and stretch metal.
Ok, you’ve got your materials, you know what length of ring band you need, what next? One of the greatest challenges when making a spinner ring is getting the ends of the ring blank to be perfectly straight. Tears and frustration can ensue when trying to create two perfectly squared ends when just eyeballing and using a file. There always seems to be a slight curve at one of the edges. Straight edges are critical for soldering and creating a good join.
Tools for Squaring Metal
Steel Square. Steel squares can help mark and scribe 90o lines for sawing. Once sawn, use it to check that your edge is perfectly square, you want the edges of your ring blank to be touching evenly all along the square, correct with a flat file, 0 cut flat is good for this. 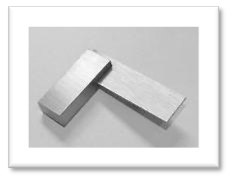 Miter cutting vise and jig. What a wonderful invention! Save yourself a lot of work and frustration by investing in a cutting jig! It cuts angles of 45 and 90 that are very straight! Perfect for this project and can also be used for creating flat ends on wire, tubing, and bezels.
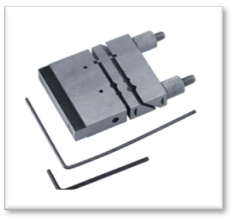 Insert your metal in the 90-degree slot. Push your metal up so the top is very slightly over the top of the vise surface. Tighten the screws at the top until the metal is securely held in place. File the metal down to the steel and voila, you will have created a perfectly straight edge! Note, a “0” cut flat file works best for this job, but over time filing against the steel of the Miter Vise will dull your file.
Follow these steps to complete your ring!
- You have your ring band squared and cut to your preferred length. Form the band into a “u” with ring bending pliers. If using the miter jig the ends should meet together tightly with no light seen through the join. If you do see some light, you can proceed by cutting through the join with the jeweller’s saw and #3/0 saw blade after work hardening.
- Solder and pickle (check out our blogs for more detailed information on soldering: soldering: materials and tools, what torch is best for my metalsmithing studio? ,soldering blocks- which one should I use?, what is pickle anyway?)
- Use a ring mandrel with a nylon or rawhide hammer to form the rings.
- Use a blue silicone knife edge polisher to remove extra solder on the OUTSIDE of the join. Then, retexture using the same texture hammer.
- Use a ‘0’ or ‘2’ cut flat file to file both edges of the band until flat. Finish the inside of the band with sandpaper (working from coarse to fine), then use a silicone bullet. Finish the edges with a blue silicone polisher.
SPINNERS
For the spinners, use 14 or 16 gauge wire – choose between sterling, gold fill, twisted, beaded, or copper. We have found that 14ga wire wears the texture off the band, so we normally use 16gauge wire, which does not wear off the texture while spinning on the band. What you choose will depend on your preference and design. We have seen spinner rings with 18ga round wire as well.
Measure the outer diameter of your finished ring band (before flaring the shape) and then use the formula below to calculate the length of wire needed for your spinners.
Length of wire for spinner = (Outer Diameter of the finished band + thickness (gauge) of spinner wire +.5mm) x 3.14 = length of spinner wire to cut.
(14 gauge round wire = 1.63mm, 16 gauge round wire =1.29mm)
- Using the formula for the spinner in the materials section, cut the wire with flush cutters, solder, pickle, and gently shape on a ring mandrel. Note: it’s easy to stretch the spinner wires, so shape gently until you know how they fit. Use a bench block to gently ensure the rings are not warped.
 When the Spinner Wires are made and put on the Band (ring shank), they should be loose enough to easily spin, but not sloppy loose.Here are some examples made by Kathy Brandon to give you design inspiration and an idea of varying band widths, band texturing and spinner types.
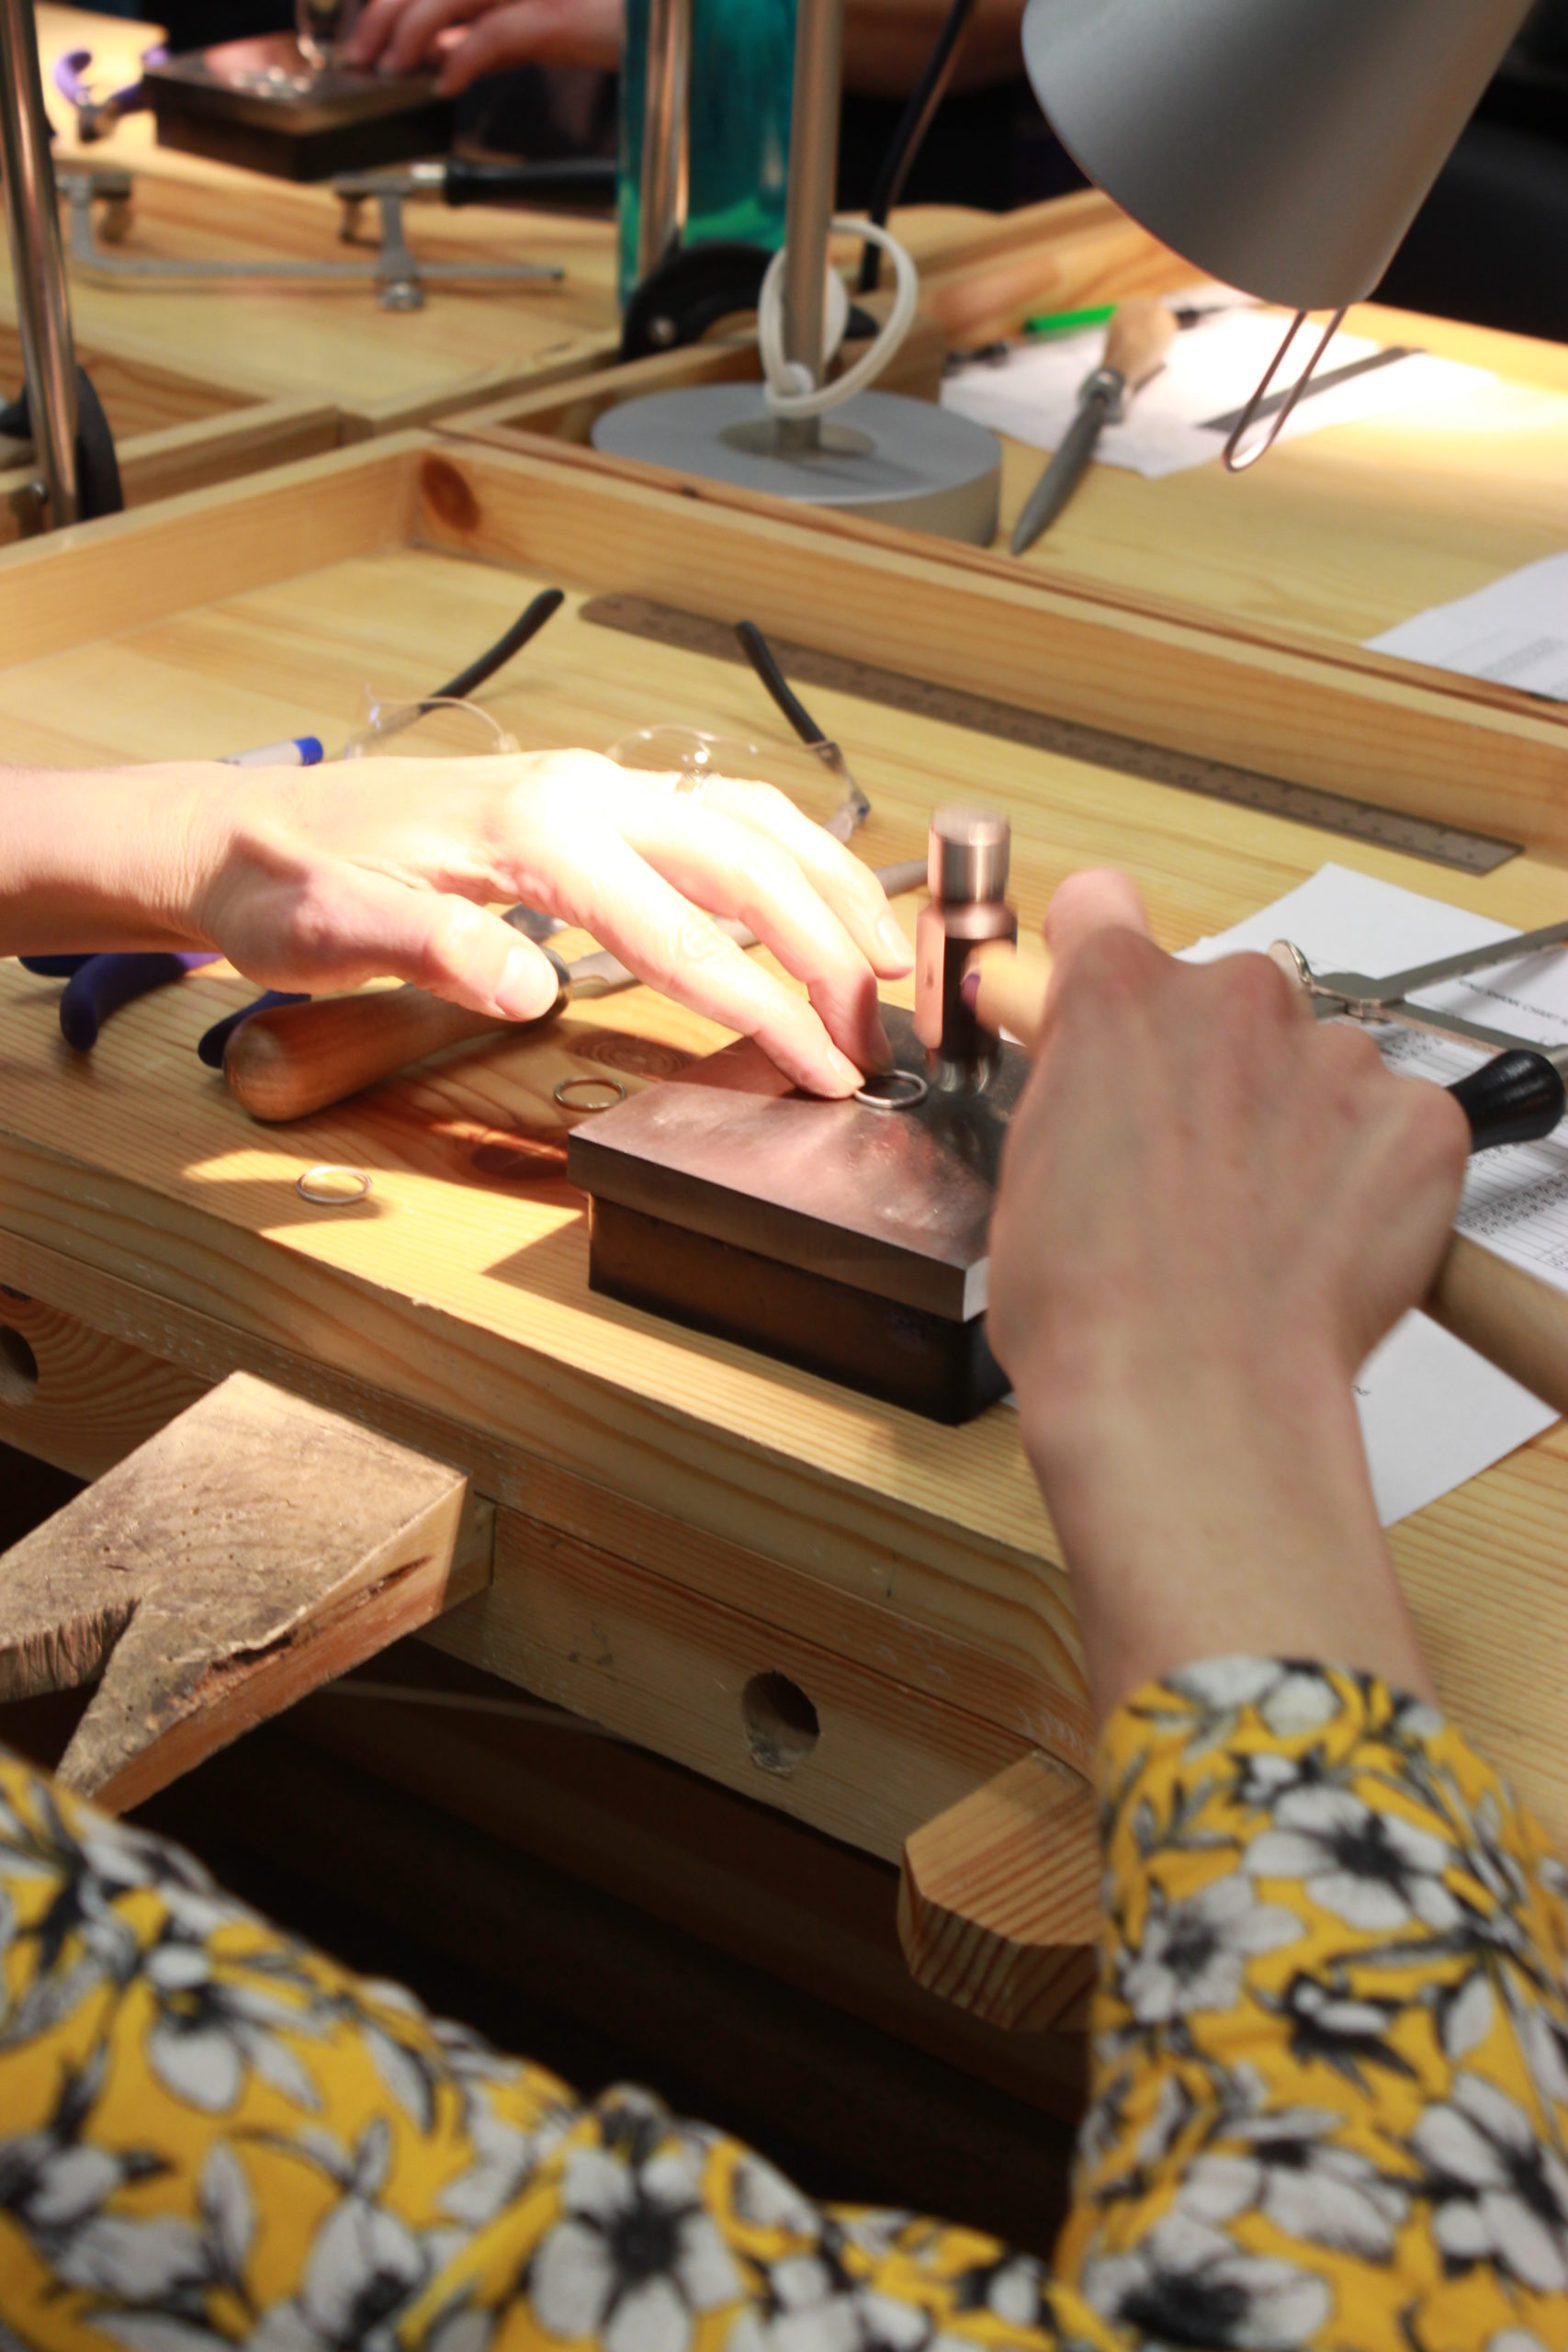
 - The trick to spinner rings is the anti-clastic shaping of the band using steel dapping punches. Place the spinners on an annealed ring band and gently tap on each side of the ring band with a dapping punch and brass hammer to flare the ends. Start off with a dapping punch that just sits inside the ring band, then increase the size of the dapping punch until the ends flare and form an even anticlastic shape. The anti-clastic shape of the band holds on the spinner rings while still allowing them to spin!


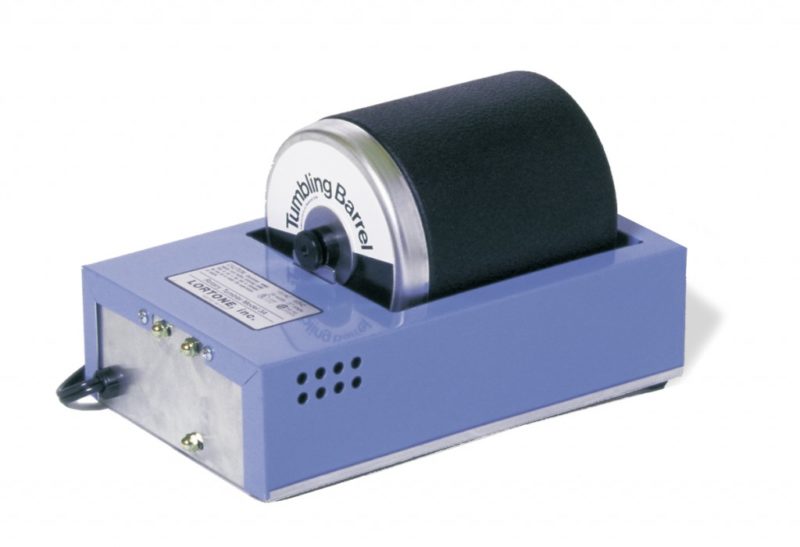
- Give the ring a final polish with soap and a brass brush or tumble it in a tumbler with steel shot and soapy water for about an hour.

Have fun experimenting with different textures and patinas to make your rings unique! We have a great selection of texturing hammers, finishing discs/bullets, and liver of sulfur to complete your rings.
Material/Tool Checklist
- sheet silver for band, wire for the spinners, solder
- ring size chart, ring gauge
- fine-tipped sharpie
- good ruler, square or miter vise
- Saw/blades/wax
- flush cutters for the spinner wire – or they can be saw cut
- Complete soldering setup (the Big Buddy Torch is adequate for this soldering job)
- round ring mandrel
- rawhide mallet 1 1/4 ” or 1 3/4″ or other forming hammers
- texture hammer – for the shank
- Metal Dapping Set
- blue silicone polishers bullet and knife-edge
- files and sandpaper
- tumbler and steel shot or brass brush